Who doesn’t love a good cheesecake? If you’ve ever had a slice from S&S Cheesecake Recipe, you know it’s a dessert like no other. Rich, creamy, and with just the right amount of sweetness, it’s the perfect way to end any meal. Want to recreate this iconic dessert at home? You’re in the right place. Let’s dive into the details of making an authentic S&S Cheesecake that will impress your family and friends.
The Magic of S&S Cheesecake
What sets S&S Cheesecake apart from the rest? It’s all about the texture and flavor. This cheesecake is incredibly creamy, with a delicate balance of tanginess from the cream cheese and sweetness from the sugar. The graham cracker crust adds a delightful crunch that complements the smooth filling. It’s a dessert that’s both decadent and satisfying.
Ingredients You’ll Need
Before we get started, let’s gather all the ingredients:
- 1 1/2 cups graham cracker crumbs
- 1/4 cup granulated sugar
- 1/2 cup unsalted butter, melted
- 4 (8-ounce) packages cream cheese, softened
- 1 1/4 cups granulated sugar
- 1 teaspoon vanilla extract
- 4 large eggs
- 1 cup sour cream
- 1/2 cup heavy cream
Making the Crust
The first step to creating a delicious cheesecake is the crust. Here’s how you can make a perfect graham cracker crust:
Step 1: Preheat and Prep
Preheat your oven to 325°F (163°C). Grease a 9-inch springform pan with butter or cooking spray to prevent the cheesecake from sticking.
Step 2: Combine Ingredients
In a medium bowl, mix the graham cracker crumbs, 1/4 cup sugar, and melted butter until well combined. The mixture should resemble wet sand.
Step 3: Form the Crust
Press the crumb mixture into the bottom of the prepared springform pan. Use the back of a spoon or the bottom of a glass to press it down firmly and evenly.
Step 4: Bake the Crust
Bake the crust in the preheated oven for about 10 minutes, or until it’s golden brown. Remove from the oven and let it cool while you prepare the filling.
Making the Cheesecake Filling
The filling is the heart of the cheesecake. Follow these steps to achieve that creamy, dreamy texture:
Step 1: Beat the Cream Cheese
In a large mixing bowl, beat the softened cream cheese with an electric mixer until smooth and creamy. This usually takes about 2-3 minutes.
Step 2: Add Sugar and Vanilla
Gradually add 1 1/4 cups sugar and the vanilla extract, beating until well combined. Make sure to scrape down the sides of the bowl to ensure everything is mixed evenly.
Step 3: Incorporate Eggs
Add the eggs one at a time, beating well after each addition. This helps to create a smooth, lump-free batter.
Step 4: Blend in Sour Cream and Heavy Cream
Gently fold in the sour cream and heavy cream until fully incorporated. The mixture should be thick and creamy.
Baking the Cheesecake
Now that your filling is ready, it’s time to bake the cheesecake to perfection.
Step 1: Pour the Filling
Pour the cream cheese mixture over the cooled crust in the springform pan. Smooth the top with a spatula to ensure even baking.
Step 2: Prepare a Water Bath
Wrap the bottom of the springform pan in aluminum foil to prevent water from seeping in. Place the pan in a larger roasting pan and fill the roasting pan with hot water until it reaches halfway up the sides of the springform pan. This water bath helps to bake the cheesecake evenly and prevent cracks.
Step 3: Bake the Cheesecake
Bake in the preheated oven for about 1 hour and 15 minutes, or until the center is almost set but still slightly jiggly. Turn off the oven and let the cheesecake cool in the oven with the door slightly open for about an hour. This gradual cooling helps prevent cracks.
Step 4: Chill the Cheesecake
Once cooled, remove the cheesecake from the oven and water bath. Refrigerate for at least 4 hours, preferably overnight, to let it set completely.
Serving the Cheesecake
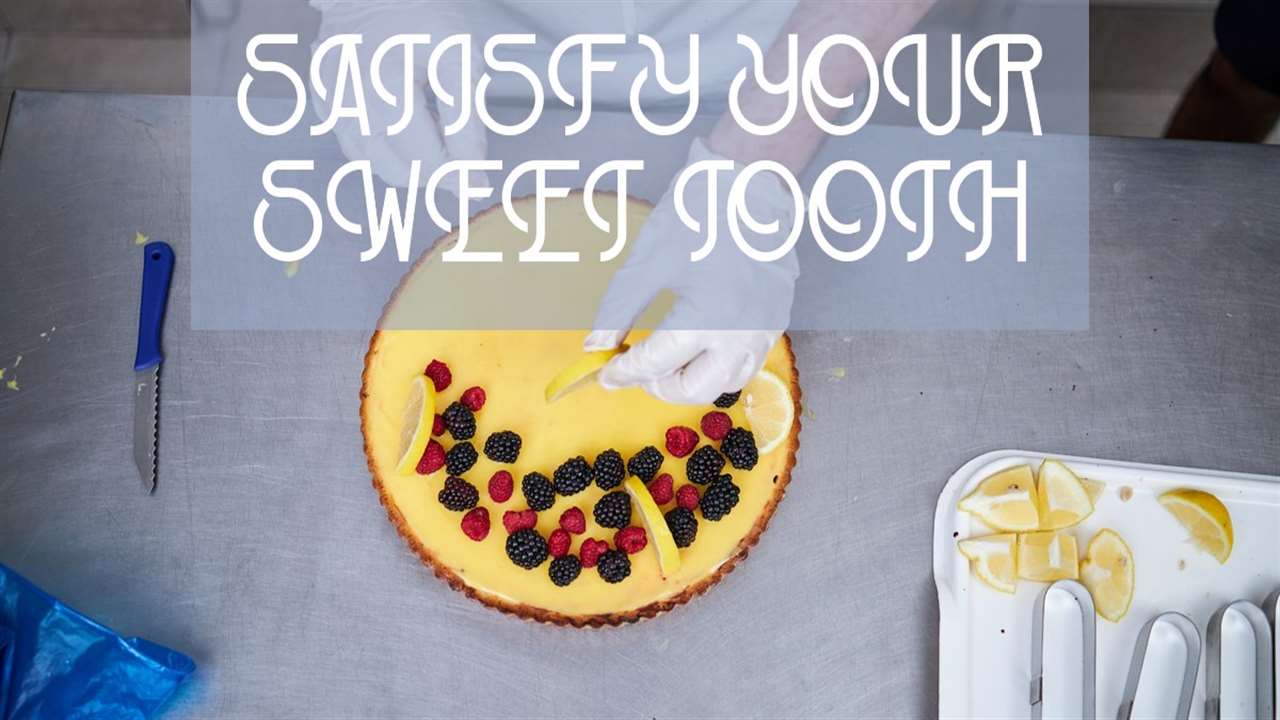
Your cheesecake is now ready to be enjoyed! Carefully remove the springform pan and slice the cheesecake with a sharp knife, wiping the blade clean between each cut for perfect slices.
Tips for the Best Cheesecake
Use Room Temperature Ingredients
Using room temperature cream cheese and eggs ensures a smooth batter without lumps. Take the ingredients out of the fridge at least an hour before you start.
Don’t Overmix
Overmixing the batter can incorporate too much air, leading to cracks. Mix just until the ingredients are combined.
Water Bath is Key
The water bath is crucial for even baking and preventing cracks. Make sure to wrap the pan well to avoid water seeping in.
Why You’ll Love This Recipe
S&S Cheesecake is the epitome of a classic dessert done right. The rich, creamy texture and perfect balance of flavors make it a standout treat. Plus, making it at home means you can enjoy this luxurious dessert anytime you want.
Conclusion
There you have it – a step-by-step guide to making an authentic S&S Cheesecake. This recipe brings the magic of this famous cheesecake right into your kitchen. Whether you’re celebrating a special occasion or simply treating yourself, this cheesecake is sure to impress.
For more ideas, recipes, and cooking tips and tricks, please visit us at South Jersey Tigers.
FAQs About S&S Cheesecake Recipe
Can I use a different type of crust?
Yes, you can use a cookie crust or even a nut-based crust if you prefer. The graham cracker crust is traditional, but feel free to get creative.
How do I store leftover cheesecake?
Store leftover cheesecake in an airtight container in the refrigerator for up to 5 days. For longer storage, you can freeze individual slices for up to 3 months.
What if my cheesecake cracks?
If your cheesecake cracks, don’t worry. It will still taste delicious. You can cover the cracks with a topping like fruit, chocolate ganache, or whipped cream.
Can I add flavors to the cheesecake?
Absolutely! You can add lemon zest, chocolate chips, or swirl in some fruit puree to customize the flavor of your cheesecake.
How do I know when the cheesecake is done baking?
The cheesecake is done when the edges are set and the center is slightly jiggly. It will continue to set as it cools. Avoid overbaking to keep it creamy.